|
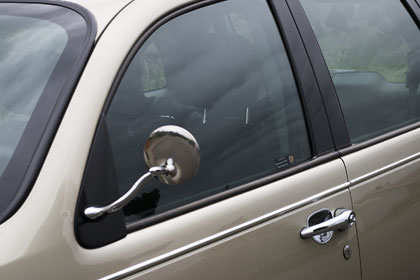
I really didn't like the way the factory mirrors looked with my retro approach to things so I found some cool side mirrors that worked pretty good. I got them from PTeazer, www.pteazer.com. They had some manufacturing issues that set my order back about six weeks but they finally came. PTeazer has a bunch of great stuff but one thing I don't care for is they charge your credit card when you place the order. I had already received my credit card bill and paid it a couple of weeks before I ever saw my parts. All that aside they are pretty nice and look great. One thing you are giving up is a little safety because they certainly are a lot smaller the factory ones. Another thing that I don't care for is the right mirror can not be adjusted enough to cover my blind spot. I put a 3 3/4" convex mirror on it and it works a lot better. I'm not crazy about the looks but much safer. Installation was pretty simple. Here's what they looked like as received.
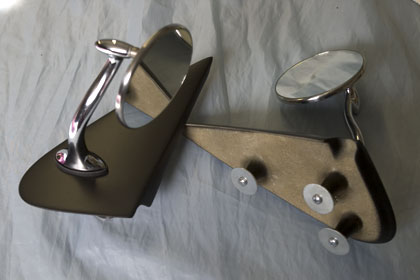
The bases have some paint on them but it's recommended that you prime and paint them with a good automotive paint. The folks at PTeazer tell me that most people paint them to match their car, we opted to paint them black.
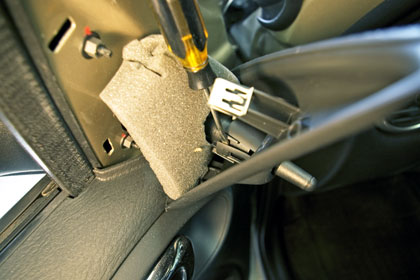
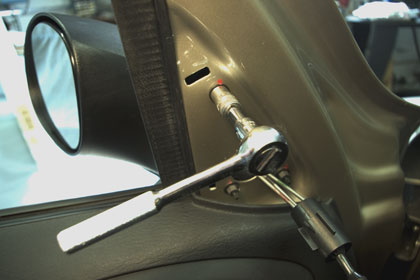
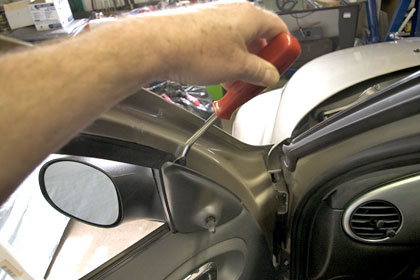 My Cruiser has manual mirrors so you have to remove the control assembly from the cover. This is done simply by raising the plastic catch on the assembly with a small screwdriver and pulling it apart. If you have power mirrors follow PTeazer's instructions.
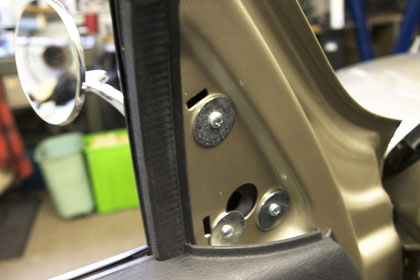
 There are three nuts that need to be removed and the mirror will come right off.
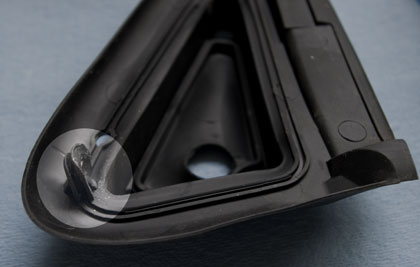
 There is a rubber gasket on the factory mirrors that you may or may not use. I decided to use them. Remove the three studs that hold them on using a pair of vice grips.
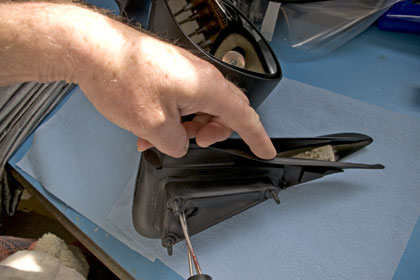 There is a rubber tab on the gaskets that will need to be removed. Just take a pair of cutters and cut them off flush.
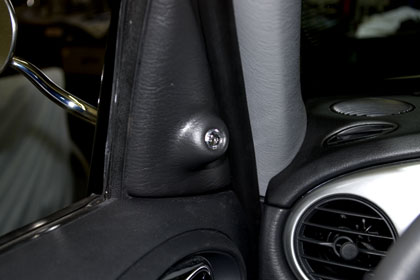
 Installing the new mirrors is pretty simple, just three screws and you're good to go. I had a tiny problem lining mine up and cross threaded one of my screws. Be careful that you don't do that!
 I didn't like the protrusion and hole in the cover from where I removed the control mechanism. I thought about putting a marble in there to fill the hole but found a diamond shaped ornament at a craft store that fit the bill.
 Just pop the plastic cover in place and you are good to go. Like I said, adjusting the mirrors is a little difficult and getting use to the small size is too.
BACK
|
|
The AllAmerican RunnerDuck Review Visit our Blog, www.runnerduckreview.wordpress.com, and sign up to receive notifications when it is updated. Our newsletter is a monthly blog with woodworking projects, crafts, recipes, and more. When you get to our blog just enter your email address and click "Sign Me Up". This is what it looks like:

|